
One of the most beautiful things about thrifting is the opportunity to give a loving, second home to items that more than certainly deserve it while at the same time supporting sustainability. A win-win situation, if you ask me! Which is why in this series of posts, I share my thrifted finds and also how I freshen them up – who knows, you just might be inspired to pick up a piece for yourself!
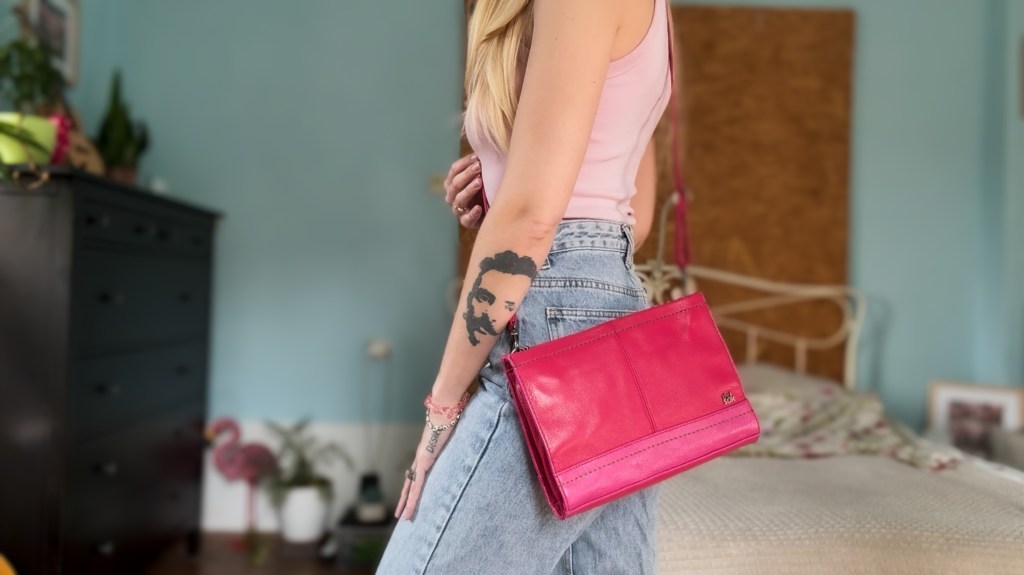
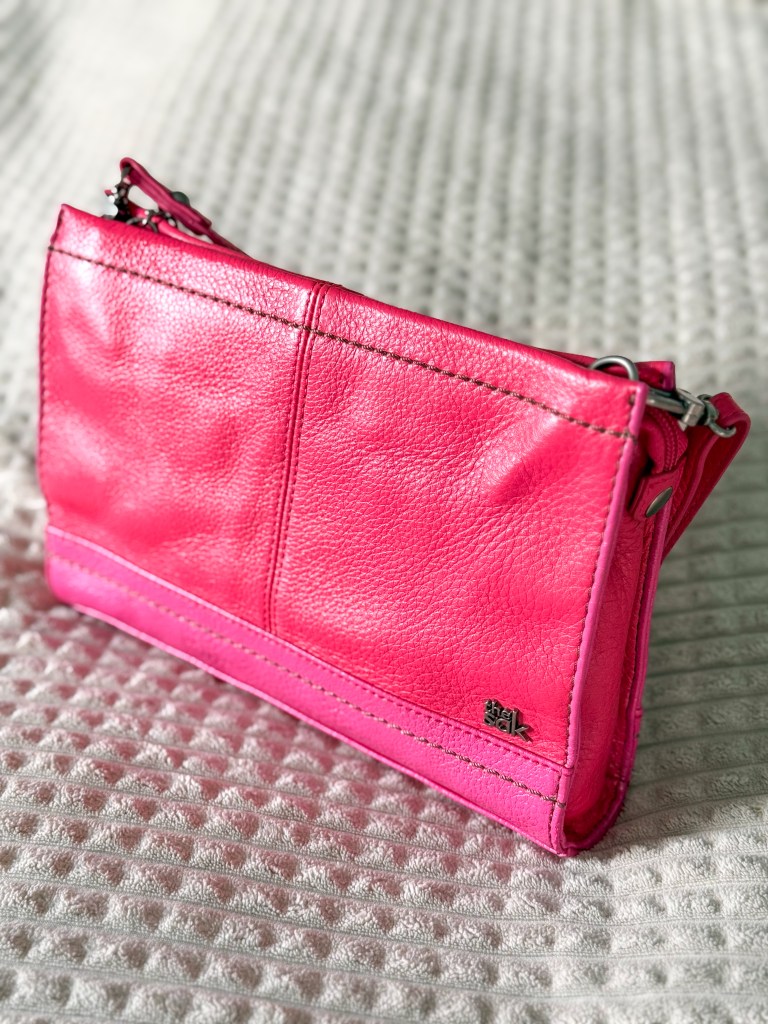
Today’s Thrift Find highlight goes a sweet little number called the Iris 3-Way Demi by The Sak in the color Flamingo.
Told you we’d see more of The Sak!
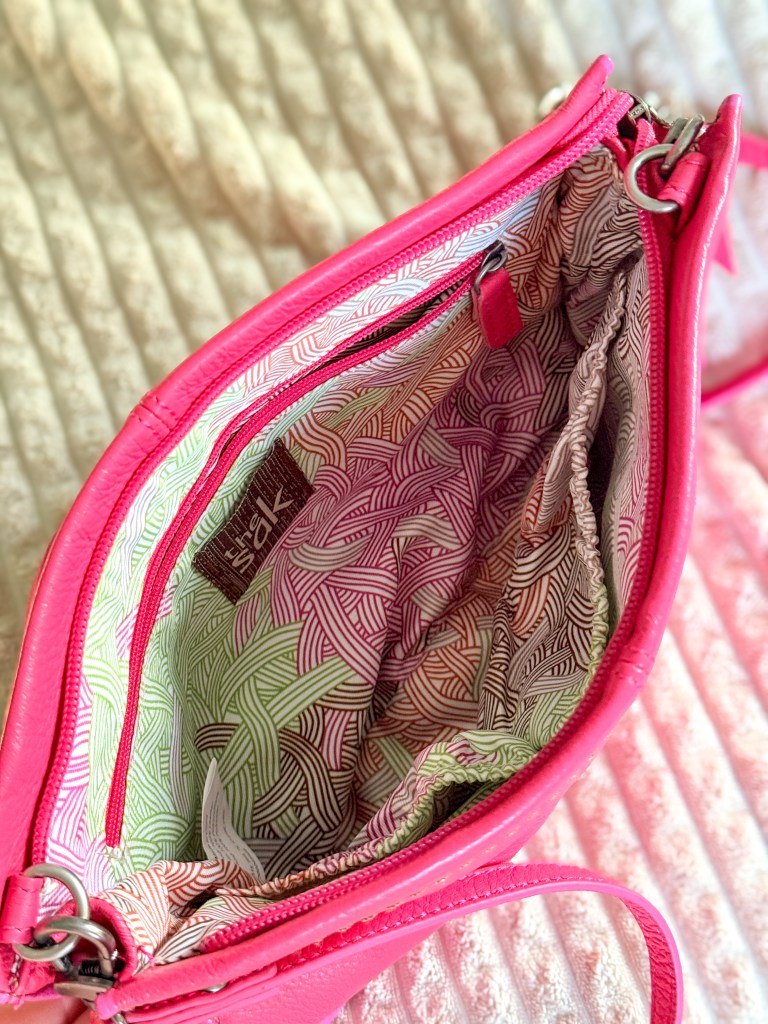
This particular bag is an absolute sweetheart made of soft, supple leather and I swear it’s the perfect size for a concert bag! The long strap is wonderful for a crossbody style, and although the bag is small, it’s still spacious enough to fit in all the essentials (including my iPhone ProMax, which is usually the hardest thing to fit in smaller purses).
It was released somewhere between 2019 and 2022 (couldn’t narrow down the exact year) and I’ve seen retail prices from $49 to $99, so I’m not entirely sure just how much it was when it first came out, but that’s not really important – I just like to include those kind of facts for funsies!
I got my Iris new with tags for €5.91 (!!!) because it came with a little caveat – the bag was damaged.
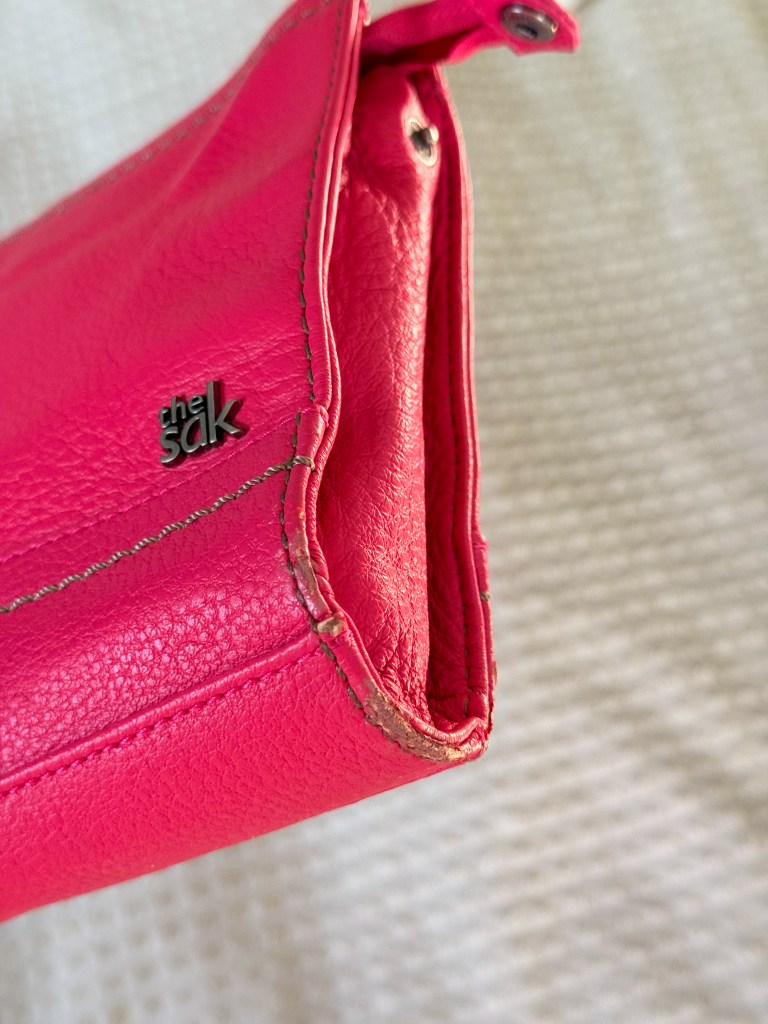
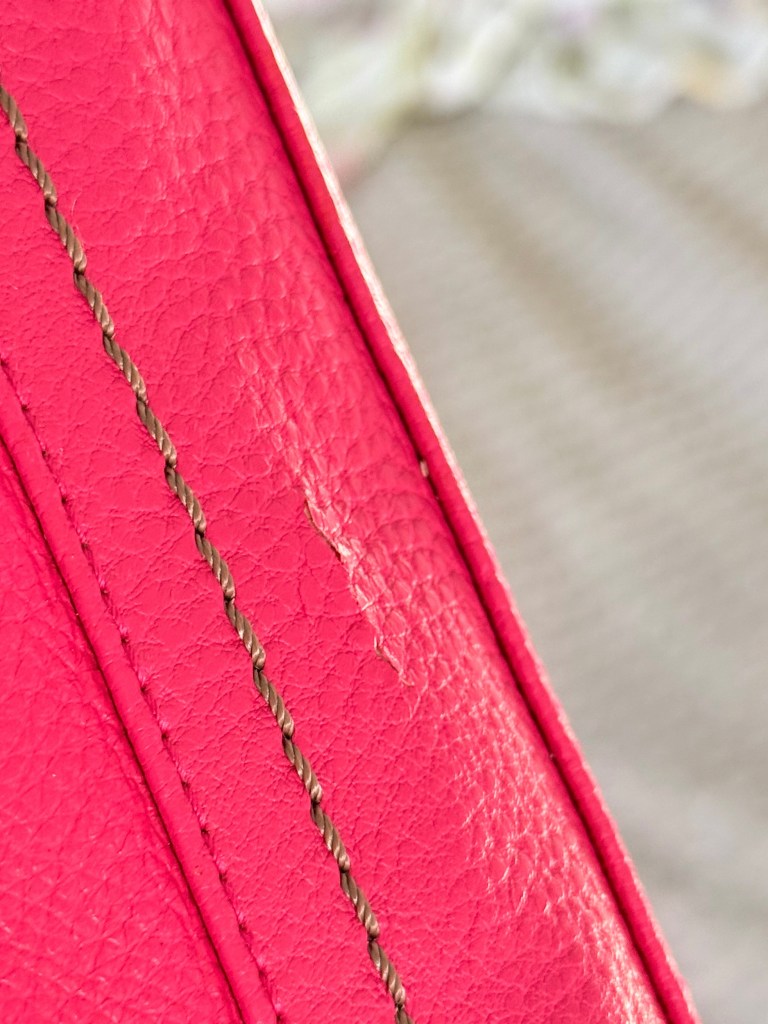
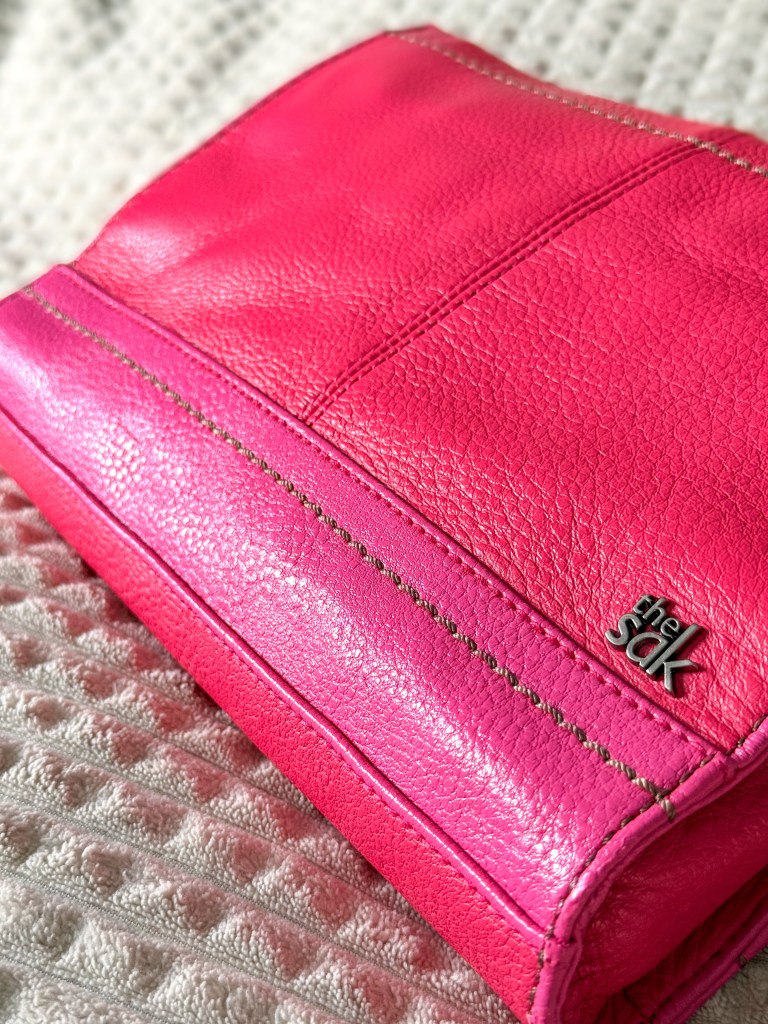
It had a small rip in the front panel, as well as places where the leather flaked away at the bottom edges on both sides.
I’m certain the person I bought it from thought they got an awesome deal on a lovely bag they could fix up…and they truly could have – with the right tools.
From the looks of it though, they seemed to have applied some nail polish on the damaged edges, which unfortunately could never do the job needed to get this beauty back into amazing shape.
So let’s fix her up more properly, shall we?
I started off by placing a towel inside to plump up the shape and make the bag easier to work with. Then I went in with nail polish remover on a q-tip, rubbing it over the nail polish and going gently and carefully to not damage the leather or the paint. While not all of the polish came off, most of it did, which was good enough of a prep work for me.
I then did a complete clean of the bag with my Alfa Clean & Refresh Cleaner, just to give myself a clean slate to work with. I also found a black mark on the top corner, which came off easily during the cleaning process.
Next up, the edges and the rip!
Normally, I’d condition the leather first, but because things were looking fragile, I wanted to tackle the dangers zones before doing anything else to eliminate any new potential damages that conditioning the purse in this state might have created. Besides, the leather itself wasn’t dry, so it felt more in alignment to leave the conditioning as the final step.
For the edges, I first went in with some Angelus Paintable Repair Filler.
Because I didn’t want to spend too much money on this project, I opted for a single pink color of acrylic leather paint (Angelus Leather Paint in Hot Pink). I wasn’t particularly worried about the shade not matching perfectly because I wasn’t aiming for perfection – my goal for this repair was to create a bag I could confidently wear out without ruining it.
Now here’s where the fun really started!
I fell so in love with how the brighter pink looked against the flamingo color of the bag that I did the whole trim instead of only sticking to the damaged areas. It was then that I realized that the original strap was also a dual-tone pink, with the trim being a slightly different shade from the leather. Win-win on the aesthetics!
Then it was time to address the rip.
I went in with leather glue, but because the leather was already fragile, a tiny piece of it did flake away during the process. Instead of trying to glue it back on, I decided to fill the gap with leather filler and paint over it instead.
Although at first I thought I might simply paint over the filler, I got a bolt of inspiration that I couldn’t refuse.
I painted that entire panel hot pink!
Because why not give the bag an extra personal touch?
Once the paint dried, I went over it with a layer of Angelus No. 600 Acrylic Finisher. Then, following a 48-hour wait, it was time for a little bit of leather conditioner by Leather Honey…
…and the bag was done!
All in all, this process took around a week to complete (there were many elements that needed to dry before I could proceed) and it was such a rewarding project to work on!
I was and still am blown away by how beautiful the bag looks…and she truly is precisely my style!
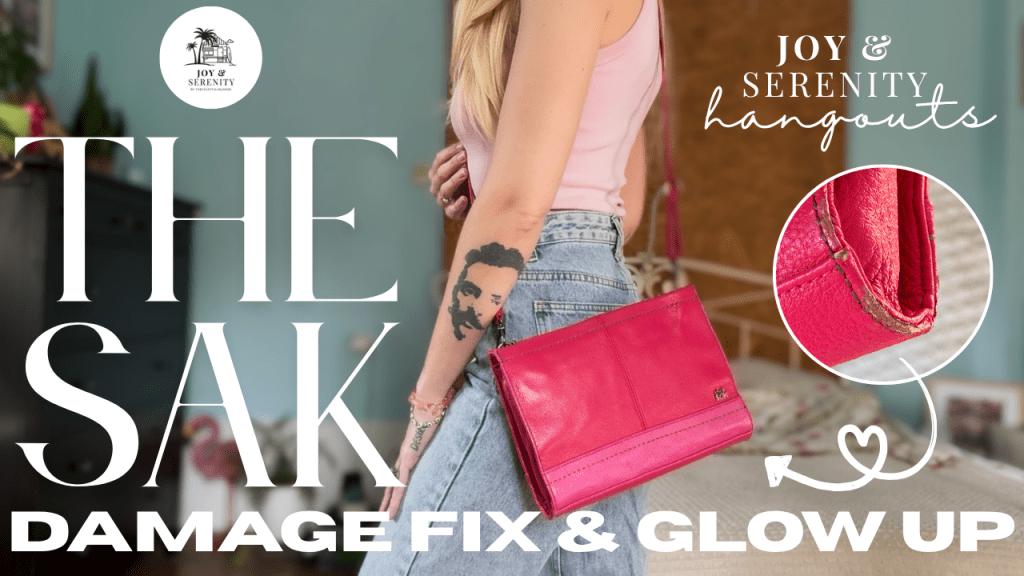
If you would like to see the entire process on video, you can join me over on YouTube by clicking this link or the image below!
Did you enjoy the content & want to spread some love?
You can help support the Joy & Serenity blog by buying me a coffee or joining me for a Yoga class on Youtube! ♥

Leave a comment